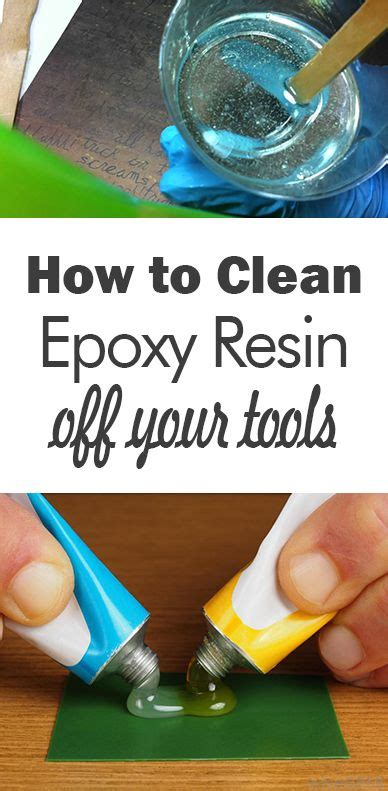
Save Money: Clean Epoxy Off Tools Yourself
Epoxy resin is a fantastic adhesive, incredibly strong and versatile. However, its stickiness is a double-edged sword. Getting epoxy off tools can be a frustrating and time-consuming task, often leading to the premature disposal of perfectly good equipment. But don't despair! Saving money and reducing waste is entirely possible by learning how to clean epoxy off your tools yourself. This guide provides effective methods to tackle this sticky situation, saving you both money and the environment.
What's the Best Way to Clean Epoxy Off Tools?
The "best" method depends on several factors: how much epoxy is on the tool, the type of epoxy, the material of the tool, and how long the epoxy has been there. Fresh epoxy is significantly easier to remove than cured epoxy. Let's explore several proven techniques.
Method 1: The Immediate Action – Prevention is Key
The most effective way to deal with epoxy on your tools is to prevent it from setting in the first place. This involves quick action:
- Work Quickly: Don't let epoxy sit on your tools. Wipe off excess immediately with a clean rag or paper towel. A little mineral spirits or denatured alcohol on the rag can help significantly.
- Use a Release Agent: Apply a release agent (like silicone spray or Vaseline) to your tools before working with epoxy. This creates a barrier preventing the epoxy from bonding.
- Dedicated Tools: Consider having a separate set of tools specifically for epoxy work. This minimizes cleanup and extends the life of your primary tools.
Method 2: Tackle Fresh Epoxy with Solvents
For recently applied epoxy that hasn't fully cured, solvents are your best friend:
- Mineral Spirits: A readily available and relatively safe solvent, mineral spirits effectively breaks down uncured epoxy. Apply it to a rag and gently rub the epoxy.
- Denatured Alcohol: Another effective solvent, denatured alcohol works similarly to mineral spirits. It's slightly less harsh but may not be as effective on thicker epoxy.
- Acetone: Acetone is a stronger solvent and should be used with caution, ensuring proper ventilation. It's ideal for stubborn, uncured epoxy but can damage certain tool materials (plastics, for example). Always test it on a small, inconspicuous area first.
Method 3: Dealing with Cured Epoxy – The More Difficult Task
Cured epoxy requires more aggressive techniques. Be patient; this will likely take time and effort.
- Mechanical Removal: For cured epoxy, scraping with a plastic scraper, putty knife, or even a stiff brush is often necessary. Be careful not to scratch or damage the tool itself.
- Heat: Applying heat with a heat gun (carefully!) can soften the epoxy, making it easier to scrape off. Be mindful of the tool's melting point and avoid overheating.
- Chemical Strippers: Commercial epoxy removers or paint strippers can be effective on cured epoxy, but always follow the manufacturer's instructions carefully. These strippers are often strong chemicals and require proper ventilation and safety precautions.
What are Some Common Epoxy Removal Mistakes?
- Ignoring it: Leaving epoxy to cure makes removal exponentially harder.
- Using the wrong solvent: Choosing a solvent too weak for the task will be ineffective, while using one too strong may damage your tools.
- Overheating: Overheating tools during the heat application method can damage or warp them.
- Not wearing proper safety gear: Always wear gloves and eye protection when working with solvents and epoxy removers.
How Can I Prevent Epoxy from Sticking to My Tools in the Future?
Preventing epoxy buildup is crucial. Here's a recap of preventative measures:
- Use a Release Agent: This is your first line of defense.
- Work Quickly: Clean excess epoxy immediately.
- Dedicated Tools: Keep a separate set of tools for epoxy projects.
By following these tips and choosing the right method based on your situation, you can effectively clean epoxy from your tools, saving money and extending the life of your valuable equipment. Remember safety first – always wear appropriate protective gear. Happy crafting!

