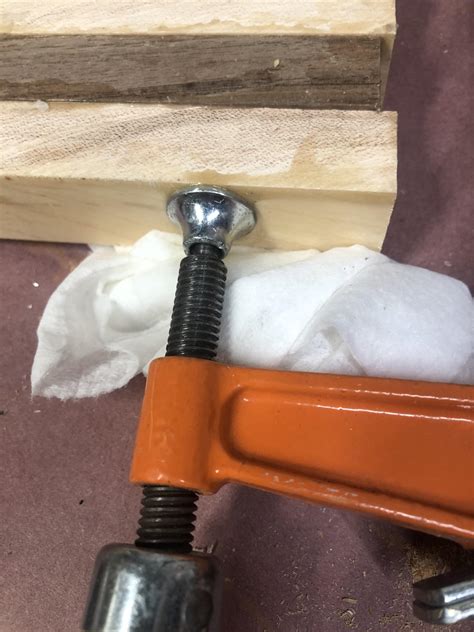
Avoid Glue-Ups Gone Wrong: Titebond 3 Clamping Secrets
Woodworking is a rewarding craft, but even experienced artisans can face challenges. One common frustration? Glue-ups that go awry. Whether it's squeezed-out glue, misaligned joints, or weak bonds, a poorly clamped glue-up can ruin a project. This article focuses on mastering the art of clamping with Titebond III, a popular wood glue known for its strength and versatility. We'll explore clamping secrets to ensure your next project is a resounding success. We'll also address some frequently asked questions surrounding Titebond III and clamping techniques.
Understanding Titebond III's Properties
Before diving into clamping techniques, it's crucial to understand Titebond III's characteristics. This wood glue is a gap-filling, waterproof adhesive, ideal for a wide range of woodworking applications. Its excellent strength and extended open time provide ample opportunity for precise clamping. However, its gap-filling ability also means excess glue can easily squeeze out, potentially marring the finished project. This is where careful clamping becomes essential.
The Importance of Proper Clamping Pressure
Applying the correct clamping pressure is paramount for a successful glue-up. Too little pressure results in a weak bond, while excessive pressure can crush the wood or cause glue starvation. The goal is even, consistent pressure across the entire joint. This requires careful consideration of the workpiece's size, wood type, and the glue's open time.
How Much Pressure is Enough?
There's no single answer to this question. It depends on the project. A good rule of thumb is to apply enough pressure to ensure full contact between the glued surfaces. You should see a slight squeeze-out of glue around the edges – this indicates sufficient pressure and good glue distribution.
Essential Clamping Tools and Techniques
Success with Titebond III hinges on having the right tools and employing the correct techniques. Here are some essentials:
- Clamps: A variety of clamps are necessary for different projects. These include bar clamps, hand clamps, pipe clamps, and spring clamps. The choice depends on the size and shape of the workpiece.
- Cauls: Cauls are crucial for preventing glue squeeze-out from marring the wood's surface, especially on valuable or visible pieces. They distribute clamping pressure evenly and prevent clamping damage. They're usually made from scrap wood or melamine-coated MDF.
- Wax Paper or Plastic Sheeting: Using wax paper or plastic sheeting between the cauls and the workpiece prevents glue from sticking to the cauls, making cleanup easier.
Titebond 3 Clamping Secrets: Avoiding Common Mistakes
1. Preventing Glue Starvation:
Glue starvation happens when the clamping pressure is too high, squeezing out all the glue before it can properly bond the surfaces. Use a moderate clamping pressure and ensure the glue is evenly spread.
2. Minimizing Glue Squeeze-Out:
Excessive glue squeeze-out indicates either too much glue or too much pressure. Use a thin, even layer of glue, and use cauls to control the pressure and prevent bulging.
3. Ensuring Proper Alignment:
Before clamping, ensure the pieces are perfectly aligned. Use clamps strategically to maintain alignment while the glue sets.
4. Choosing the Right Clamps:
Select clamps appropriate for the size and shape of your workpiece. Using the wrong clamp can lead to uneven pressure and a weak bond.
5. Understanding Titebond III's Open Time:
Titebond III offers a generous open time, but you don't want to wait too long before clamping. Consult the manufacturer's instructions for recommended clamping times.
What is the best type of clamp for Titebond III?
The "best" clamp depends entirely on the project. For smaller projects, spring clamps or hand clamps may suffice. Larger projects often require bar clamps or pipe clamps for even pressure distribution. The key is selecting clamps that provide even pressure across the entire joint.
How long should I clamp Titebond III?
Clamping time depends on factors like wood type, temperature, and humidity. While Titebond III boasts a long open time, it generally requires several hours of clamping for a strong bond. Refer to the manufacturer's instructions for specific clamping times recommended for your application.
Conclusion
Mastering the art of clamping with Titebond III is essential for successful woodworking projects. By understanding its properties, utilizing the correct tools, and employing the clamping techniques outlined above, you can drastically reduce the chance of glue-ups gone wrong. Remember, practice makes perfect. With time and patience, you'll become a clamping expert, producing strong, beautiful, and durable woodworking pieces.

