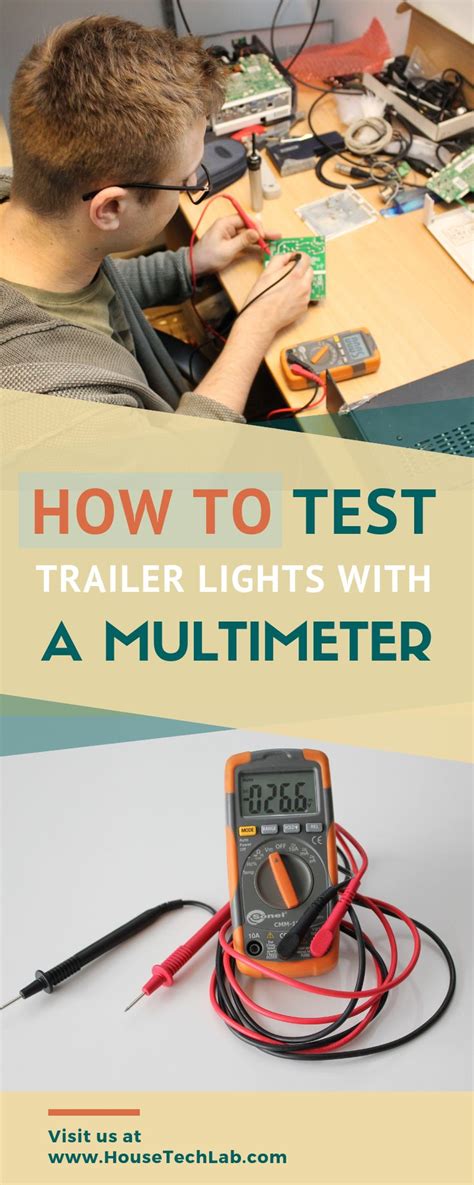
Trailer Light Troubleshooting: The Multimeter Method
Dealing with malfunctioning trailer lights can be frustrating, but armed with a multimeter, you can quickly diagnose and fix the problem. This guide provides a step-by-step approach to troubleshooting trailer light issues using the multimeter method, ensuring your safety on the road. We'll cover everything from identifying blown bulbs to tracing faulty wiring, empowering you to tackle these issues with confidence.
Why Use a Multimeter for Trailer Light Troubleshooting?
A multimeter is an invaluable tool for electrical diagnostics. Unlike simply replacing bulbs hoping for the best, a multimeter allows you to pinpoint the exact source of the problem – be it a blown bulb, a broken wire, a faulty connector, or a problem with your vehicle's wiring harness. This targeted approach saves time, money, and frustration.
What You'll Need
Before you begin, gather these essential items:
- Multimeter: A digital multimeter (DMM) is recommended for its ease of use and accuracy.
- Test leads: These connect the multimeter to the circuit.
- Screwdrivers: Phillips and flathead screwdrivers of various sizes will be useful for accessing light fixtures and connectors.
- Wire strippers/cutters (optional): If you need to repair damaged wires.
- Electrical tape (optional): For insulating repaired wires.
- Replacement bulbs: Have the correct bulbs on hand, just in case.
- Trailer wiring diagram (optional): Your trailer's manual or online resources might provide a helpful diagram.
Step-by-Step Troubleshooting Guide
1. Visual Inspection:
Before you even turn on the multimeter, perform a thorough visual inspection. Check for:
- Blown bulbs: Look for broken filaments inside the bulbs.
- Loose connections: Inspect all connectors and wiring for any loose or corroded parts. Pay close attention to the connection points between the trailer and the vehicle.
- Damaged wires: Look for any signs of fraying, cuts, or melting.
2. Testing the Bulbs (Continuity Test):
- Set your multimeter: Turn your multimeter to the continuity setting (usually symbolized by a diode or a continuity symbol).
- Test the bulb: Touch the probes to the bulb's terminals. A continuous tone or a near-zero reading indicates the bulb is good. No tone or a high reading signifies a blown bulb.
3. Checking the Wiring for Continuity:
If the bulbs are good, the problem lies within the wiring.
- Set your multimeter to continuity: As in step 2.
- Disconnect the trailer: Disconnect the trailer from the vehicle to isolate the circuits.
- Test each wire individually: One probe should be on the light fixture connector and the other on the connector at the vehicle end of that particular wire. You should get a continuous tone or near-zero reading if there is no break in the wire. If not, there is a break in the wire somewhere between these two points. You may need to systematically check sections of the wire to find the point of failure.
4. Checking for Voltage (Voltage Test):
If the wiring is intact, we need to check for voltage. Always disconnect the trailer from the vehicle before proceeding.
- Set your multimeter to DC voltage: Usually 12V or 20V DC setting.
- Connect the probes: With the vehicle lights turned on, touch the probes to the wires at the trailer-side connector. You should measure voltage levels corresponding to the function of the light. (e.g., 12V). A lack of voltage indicates a problem with the vehicle's wiring or fuse.
5. Checking Fuses and Wiring Harness:
If you’ve confirmed voltage at the trailer connection but still have no lights, the problem may be within the vehicle's wiring harness or a blown fuse. Consult your vehicle's owner's manual to locate and check the relevant fuses.
Troubleshooting Specific Trailer Light Issues
Q: My left turn signal isn't working, but the right one is. What could be wrong?
This likely indicates a problem with the wiring specific to the left turn signal circuit. Use the multimeter to test the continuity and voltage of the left turn signal wire, as described above. Check for breaks or shorts in that specific wire.
Q: All my trailer lights are out. What should I check first?
Start with the easiest checks: visually inspect bulbs, check the trailer connector for corrosion, and then verify the fuse is not blown in the tow vehicle. If those are fine, you can move on to testing the wiring.
Q: My trailer lights are flickering. What’s the cause?
Flickering lights usually point to a loose connection or a corroded connector. Carefully examine all connections and clean any corrosion you find. If the problem persists, there might be an issue within the wiring.
Q: How do I tell if the problem is with my trailer or my tow vehicle?
To isolate the issue, disconnect the trailer from the tow vehicle. Then test the lights on the tow vehicle to see if they work properly. If they are working properly, then the problem lies within the trailer wiring, or the trailer's lights. If the tow vehicle's lights don't work either, the problem is within the tow vehicle’s electrical system.
By following these steps and using a multimeter, you'll be able to diagnose and fix most trailer light problems efficiently and safely. Remember to prioritize safety and always disconnect the trailer from the vehicle when performing electrical tests. If you are uncomfortable working with electricity, consult a qualified mechanic.

