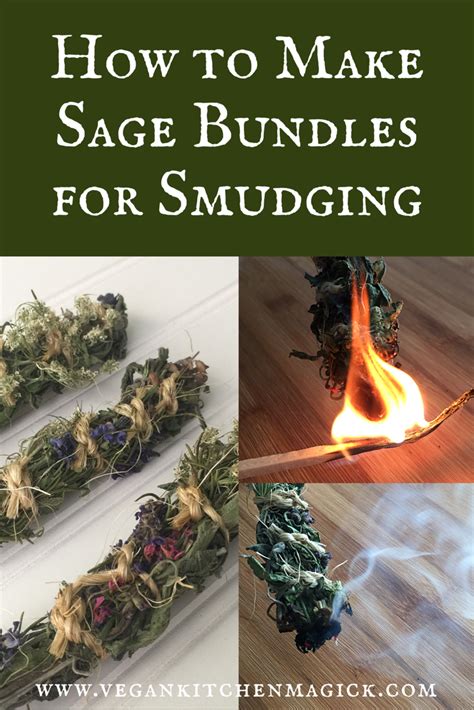
Sage Smudge Sticks: A Simple Guide to Making Your Own
Sage smudging is an ancient practice used for purification and cleansing, bringing a sense of peace and tranquility to your space. While you can easily purchase pre-made sage smudge sticks, crafting your own offers a deeply rewarding and personalized experience. This guide will walk you through the simple process of making your own sage smudge sticks, from sourcing the materials to the final binding.
What is a Sage Smudge Stick?
A sage smudge stick, also known as a smudge bundle, is a bunch of dried herbs, typically white sage (Salvia apiana), tied together. It's used in spiritual and cleansing rituals to purify a space or person by burning the herbs and wafting the smoke. The smoke is believed to clear negative energy, promote healing, and create a more positive atmosphere. While white sage is the most common herb used, you can also create smudge sticks with other herbs like lavender, cedar, rosemary, or sweetgrass, each offering its unique properties.
What You'll Need to Make Your Own Sage Smudge Sticks:
- Sage Leaves: You can find dried white sage leaves at many craft stores, herbal shops, or online retailers. Ensure they're properly dried – brittle and not damp or moldy. Consider supplementing with other dried herbs for a custom blend.
- String or Twine: Natural fibers like cotton or jute work best. Avoid synthetic materials that might burn unpleasantly.
- Scissors or Sharp Knife: To trim any stray leaves and neatly cut your twine.
Step-by-Step Guide to Making Sage Smudge Sticks:
-
Gather Your Herbs: Begin by gathering your dried sage leaves (and any other herbs you wish to incorporate). Aim for a bunch roughly the thickness of your thumb.
-
Create the Bundle: Arrange the herbs together, holding them tightly in your dominant hand. Try to ensure a relatively even distribution of leaves to create a well-balanced stick.
-
Secure the Bundle: Wrap the twine around the base of the herb bundle several times, pulling it tightly to secure the leaves. Ensure you have a good grip; a loose bundle will fall apart during the drying process.
-
Tie a Knot: Once the bundle is tightly secured, tie a secure knot. Trim any excess twine.
-
Drying the Smudge Stick: Hang your smudge stick upside down in a cool, dry, and well-ventilated area for approximately 2-3 weeks. This allows the bundle to fully dry and cure, ensuring a long-lasting and evenly burning smudge stick. Avoid direct sunlight, which could cause the herbs to become brittle and lose their essential oils.
How to Use Your Homemade Sage Smudge Stick:
Once your smudge stick is completely dry, you can begin using it. Light one end of the smudge stick and gently blow out the flame to create a glowing ember. Waft the smoke around your space or person using a feather or your hand, focusing on corners, windows, and doorways. Remember to always use a fire-safe container such as an abalone shell or heat-resistant bowl.
What are the benefits of making your own sage smudge sticks?
- Cost-Effective: Making your own smudge sticks is significantly more affordable than buying pre-made ones.
- Personalized Blend: You have complete control over the herbs you include, allowing you to create a unique blend tailored to your specific needs and preferences.
- Mindful Process: The process of making a smudge stick is a meditative and grounding experience.
- Sustainable Practice: Sourcing your herbs responsibly and making your own smudge sticks promotes sustainability.
Can I use different herbs in my smudge stick?
Absolutely! While white sage is traditional, many other herbs offer unique benefits. Lavender promotes relaxation, cedar offers grounding energy, rosemary boosts focus, and sweetgrass is associated with positive intentions. Experiment and find the blends that resonate most with you.
How do I know if my sage smudge stick is properly dried?
A properly dried smudge stick will be brittle and easily crumble if bent. If it feels damp or pliable, it requires more drying time.
How long do homemade sage smudge sticks last?
With proper storage in a dry, cool place, your homemade smudge sticks can last for months or even years.
By following these steps, you can create your own unique and personalized sage smudge sticks, bringing the ancient practice of smudging into your home with a deeper sense of connection and intention. Remember to always practice fire safety and enjoy the peaceful ritual of creating and using your handmade smudge sticks.

