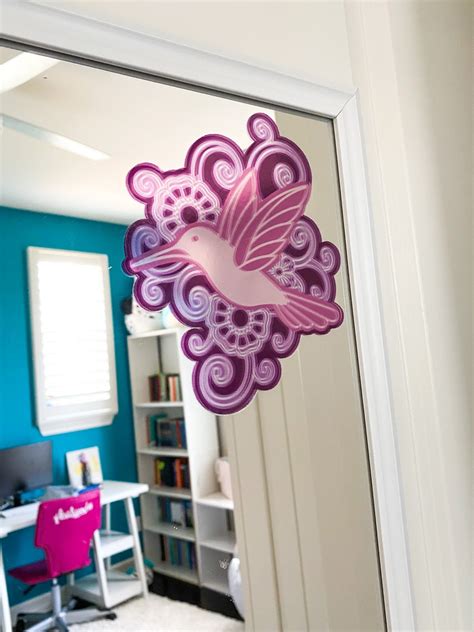
Pro Tips for Perfect Window Cling Placement
Window clings offer a vibrant, versatile way to decorate your home or business, advertise your brand, or simply add a splash of personality to a glass surface. But achieving that perfectly placed, bubble-free cling can be trickier than it looks. This guide dives into pro tips and techniques to ensure your window cling application is flawless every time.
Why Proper Placement Matters
Before we get into the how-to, let's understand why perfect placement is crucial. A poorly applied cling can look unprofessional, detract from your design, and even damage the cling itself, leading to wasted time and money. Achieving a professional finish elevates the overall impact of your chosen design, ensuring it makes the statement you intended.
Preparing for Success: Essential Steps
Clean the Surface: This is the most critical step. Dirt, dust, and grime will prevent your cling from adhering properly and lead to air bubbles. Use a glass cleaner specifically designed for windows and mirrors, ensuring you thoroughly clean the entire surface. Don't forget to dry it completely with a lint-free cloth. Even a tiny speck of dust can ruin the whole process.
Planning Your Placement: Before peeling the backing, carefully plan where you want your cling. Use a light pencil to lightly mark the placement area on the window. This will serve as a guide, especially for larger, more intricate designs.
Choosing the Right Environment: Avoid placing clings in direct sunlight or extreme temperatures. Heat can cause the adhesive to become too sticky, making placement difficult, and cold temperatures can make it too stiff. Ideal conditions are a room temperature environment with minimal direct sunlight.
Mastering the Application: Step-by-Step Guide
-
Peel the Backing: Start by gently peeling back a small portion of the backing paper, exposing just a few inches of the cling. Avoid peeling the entire backing at once, as this makes accurate placement much harder.
-
Align and Adhere: Slowly and carefully align the exposed edge of your cling to your pre-marked area. Once you're satisfied with the alignment, gently press the adhered section to ensure good contact.
-
Smooth as You Go: As you continue peeling back the backing, use a smooth, even pressure to apply the cling to the window. Work your way across the surface, ensuring there are no wrinkles or creases. A soft squeegee or credit card works wonders to smooth out any air bubbles.
-
Remove Air Bubbles: If air bubbles do appear, gently push them towards the edge of the cling using your squeegee or card. Small bubbles may disappear on their own as the cling settles. Larger bubbles might require lifting a small section of the cling to release the trapped air and reapplying.
-
Trim Excess: Once the cling is fully applied, use a sharp utility knife or razor blade to carefully trim any excess material along the edges.
Troubleshooting Common Problems
How do I remove air bubbles after the cling is applied? Small bubbles often disappear naturally. For larger ones, gently lift a corner of the cling, release the air, and reapply, smoothing it out with a squeegee.
My cling is wrinkled or creased. What should I do? Try carefully lifting and reapplying the affected section. Heat can sometimes help relax creases (use a hairdryer on a low setting, keeping it moving to avoid overheating).
How do I remove a window cling? Most clings are easily removed. Start at a corner and slowly peel it away from the glass. A hair dryer on a low setting can help loosen the adhesive.
Choosing the Right Cling: Material Considerations
Different cling materials offer varying levels of durability and opacity. Consider the location and intended use when choosing a cling. Frosted clings offer privacy, while clear clings are perfect for displaying vibrant images. Think about the longevity you need – some clings are designed for temporary use, while others are more permanent.
By following these pro tips, you can achieve perfect window cling placement every time, transforming any glass surface into a stunning display. Remember, patience and attention to detail are key to achieving a professional finish.

