How to Remove Vans Insoles for Orthotics: A Step-by-Step Guide
Vans shoes, known for their comfort and style, can be easily customized to accommodate orthotics. Replacing the factory insoles with custom orthotics can significantly improve comfort and support, especially for those with foot conditions or who spend long hours on their feet. But knowing how to properly remove the original insoles without damaging your Vans is crucial. This guide provides a clear, step-by-step process to successfully remove your Vans insoles, preparing your shoes for orthotic inserts.
Why Remove Vans Insoles?
Before we dive into the removal process, let's understand why replacing the stock insoles is beneficial. Many people find that factory insoles lack the necessary arch support and cushioning for their feet. This can lead to discomfort, pain, and even long-term foot problems. Custom orthotics provide personalized support, correcting foot imbalances and preventing further issues. By removing the original insoles, you create space for the orthotics to sit correctly and function effectively.
What Tools Do I Need?
The process is surprisingly simple and requires minimal tools. You'll likely only need:
- Your Vans shoes: Obviously!
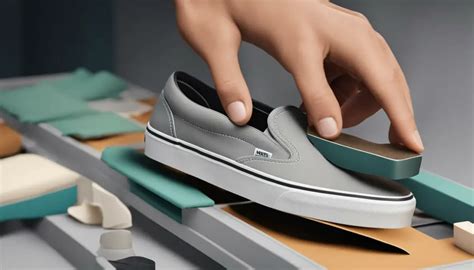
- A flat, thin object (optional): A butter knife, spatula, or even a sturdy plastic card can help gently pry the insole if it's proving difficult to remove.
Step-by-Step Guide to Removing Vans Insoles
Here's a detailed, step-by-step guide on how to safely remove the insoles from your Vans shoes:
-
Prepare your shoes: Start by loosening any laces and removing them entirely. This will give you better access to the inside of the shoe.
-
Locate the heel of the insole: Gently grasp the back of the insole near the heel.
-
Gently lift and pull: Pull the insole upwards, starting at the heel. Use a slow, steady motion to avoid tearing the insole or damaging the shoe. Most Vans insoles are designed to be easily removable.
-
Work your way forward: Once the heel is lifted, continue pulling the insole forward, towards the toe box. If the insole is stuck, you can use your flat, thin object (mentioned above) to gently pry it loose from the edges, working your way from the heel to the toe. Be gentle to avoid damaging the shoe's lining or the insole itself.
-
Remove completely: Once you've worked your way to the toe, the insole should slide out completely. Repeat this process for the other shoe.
How to Insert Orthotics into Vans Shoes
Once the original insoles are removed, you can easily place your custom orthotics into your Vans shoes. Make sure they fit snugly, and that they are correctly positioned within the shoe to provide optimal support.
What if my Vans insoles are glued down?
While most Vans insoles are easily removable, some models may have adhesive that makes them stick more firmly. If you encounter significant resistance and the insole feels glued, don't force it. Instead, try using a very thin, flat object like a credit card to work your way around the edges and carefully loosen the adhesive. You can also try using a hairdryer on a low setting to gently warm the adhesive, which can sometimes help loosen it.
Can I reuse the original Vans insoles?
Yes, you can generally reuse the original Vans insoles if they are in good condition after removal. However, if you are using custom orthotics for medical reasons, it's best to keep them separate and not mix them with the original insoles to maintain the effectiveness of your orthotic treatment.
Maintaining Your Vans and Orthotics
To maintain both your Vans shoes and your orthotics, try to keep them clean and dry. Regularly clean any dirt or debris from both the shoes and the orthotics with a damp cloth.
By following these simple steps, you can easily remove your Vans insoles and create the perfect fit for your custom orthotics. Remember to always be gentle to avoid damaging your shoes or the insoles.

