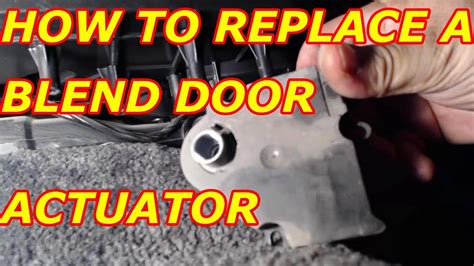
Blend Door Actuator Install: Keep Your Cool This Summer
Summer's heat can be brutal, and a malfunctioning blend door actuator can make it even worse. This crucial component controls the flow of air between your car's heating and air conditioning systems, ensuring you get the temperature you want. A faulty actuator can leave you shivering in the summer heat or sweating through winter's chill. This guide walks you through the process of installing a new blend door actuator, helping you stay comfortable all year round.
What is a Blend Door Actuator?
Before diving into the installation, let's understand what a blend door actuator does. It's a small but vital part of your vehicle's HVAC (Heating, Ventilation, and Air Conditioning) system. This electric motor receives signals from your climate control system and precisely positions a blend door within the ductwork. This door regulates the mix of hot and cold air, allowing you to select the desired temperature. When this actuator fails, you lose control over your car's temperature, potentially leading to uncomfortable rides.
What are the common signs of a failing blend door actuator?
This is a frequently asked question, and it's crucial to recognize the symptoms. A failing blend door actuator often manifests as:
- Inconsistent temperature control: The air coming from your vents might suddenly switch between hot and cold, regardless of your selected temperature.
- Inability to reach desired temperature: You might struggle to get the car to your preferred temperature setting.
- No air from vents: In severe cases, a completely malfunctioning actuator might prevent any air from flowing through your vents.
- Unusual noises from the dashboard: A clicking or grinding sound coming from the dashboard area could indicate a failing actuator.
Preparing for the Blend Door Actuator Installation
Installing a new blend door actuator requires some preparation. Here’s what you’ll need:
- New Blend Door Actuator: Ensure you purchase the correct actuator for your specific vehicle year, make, and model. Cross-referencing the part number with your vehicle's documentation is crucial.
- Screwdrivers: You’ll likely need a combination of Phillips and flathead screwdrivers.
- Sockets and Ratchet: These are often necessary to remove various panels and access the actuator.
- Panel Removal Tools: These can help prevent damage to your interior trim.
- Owner's Manual: This provides valuable insights into your vehicle's specific features and potential challenges.
- Patience: This is a moderately involved task, so patience is key.
Step-by-Step Blend Door Actuator Installation Guide
The exact steps will vary depending on your vehicle's make and model. However, the general process typically includes these steps:
-
Disconnect the Battery: This is a crucial safety precaution to prevent electrical shorts.
-
Remove Interior Trim Panels: Carefully remove the dashboard panels and other components that obstruct access to the blend door actuator. Refer to a repair manual or online guide specific to your vehicle for detailed instructions.
-
Locate the Blend Door Actuator: Once you've accessed the area, locate the actuator. It's typically a small, cylindrical motor connected to a linkage that operates the blend door.
-
Disconnect the Electrical Connector: Carefully unplug the electrical connector from the actuator.
-
Remove the Actuator: Unscrew the actuator from its mounting position. This may involve removing screws or clips.
-
Install the New Actuator: Install the new actuator in the same position as the old one, ensuring it's securely fastened.
-
Reconnect the Electrical Connector: Reconnect the electrical connector to the new actuator.
-
Reassemble the Interior Trim Panels: Carefully reassemble all the interior panels and components that you removed.
-
Reconnect the Battery: Reconnect the battery and test your HVAC system.
Troubleshooting Common Issues
Even with careful installation, you might encounter problems. Here are some common troubleshooting tips:
- Actuator Not Working: Double-check all connections and ensure the actuator is correctly installed. A faulty actuator is a possibility despite proper installation.
- Incorrect Temperature: This could be due to a problem beyond the actuator, such as a faulty temperature sensor or blend door itself.
- No Airflow: This may indicate a problem with your HVAC system beyond the blend door actuator.
Seeking Professional Help
While many individuals successfully complete blend door actuator installations, some repairs require professional expertise. If you're uncomfortable tackling this project yourself, or if you encounter persistent issues after installation, it’s always best to consult a qualified mechanic. They possess the tools, knowledge, and experience to diagnose and repair any underlying problems effectively. Remember, a functioning HVAC system is crucial for your comfort and safety.
This comprehensive guide provides a solid foundation for understanding and installing a blend door actuator. Remember to always prioritize safety and consult your vehicle's repair manual for specific instructions. Stay cool this summer!

