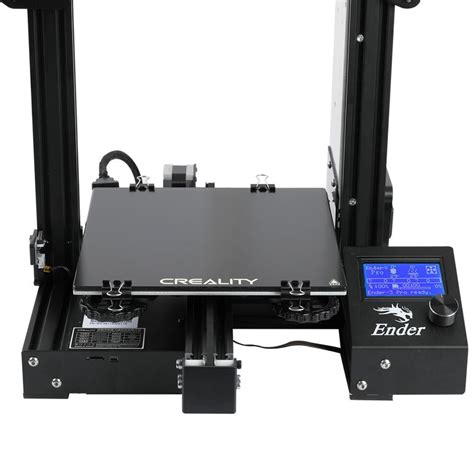
Beyond the Build Plate: Ender 3 Software Height Solutions
The Creality Ender 3 has become a staple in the 3D printing world, known for its affordability and ease of use. However, even experienced users sometimes encounter bed leveling issues. While manual bed leveling is a standard procedure, relying solely on it can limit print quality and consistency. This article delves into the world of software-based height solutions for your Ender 3, exploring how to optimize your prints beyond the physical adjustments of the build plate.
Why Software Height Control Matters
Manual bed leveling addresses the overall plane of the bed, but subtle inconsistencies remain. These variations can cause adhesion problems, warping, and ultimately, failed prints. Software solutions offer a more precise and dynamic approach, compensating for these micro-variations throughout the print. This leads to significantly improved first-layer adhesion, reduced warping, and ultimately, higher-quality prints.
Understanding Z-Offset and its Role
Z-offset is a crucial parameter in 3D printing. It represents the distance between the nozzle and the bed. Precise Z-offset calibration is critical for successful printing. While many users adjust Z-offset manually, software features in slicers and firmware offer automated or assisted adjustments, refining the process considerably.
How to Adjust Z-Offset on Your Ender 3
The method for adjusting Z-offset varies depending on your slicer and firmware. Common methods include:
-
Manual Adjustment (via the LCD screen): This requires physically adjusting the nozzle height until a satisfactory first layer is achieved. This is a starting point, often refined using software-based adjustments.
-
Slicer-Based Z-Offset: Many slicers (Cura, PrusaSlicer, etc.) provide options for fine-tuning the Z-offset during the slicing process. This allows for adjustments based on the specific print and filament used.
-
Firmware-Based Auto-Bed Leveling (ABL): Upgrading your Ender 3 firmware to support ABL systems like the popular BLTouch or CR Touch significantly enhances precision. These sensors automatically map the build plate, generating a compensation map used by the printer's software. This eliminates the need for manual leveling in most cases.
Exploring Different Software Solutions
Numerous software solutions enhance Z-offset control and bed leveling. These range from simple slicer settings to sophisticated firmware upgrades.
1. Using Your Slicer's Advanced Settings
Most slicers offer settings to compensate for bed imperfections. These often include options for:
-
Z-hop: This feature raises the nozzle slightly during travel moves, preventing nozzle drag and improving surface quality.
-
First Layer Height Adjustments: Slicers allow precise control over the first layer height, crucial for achieving good bed adhesion.
-
Custom G-code: This offers complete control, allowing experienced users to write scripts for specific bed leveling routines.
2. Upgrading to Firmware with ABL Support
Upgrading the Ender 3 firmware to incorporate support for an auto-bed leveling sensor is one of the most significant improvements you can make. This automated process drastically improves precision and consistency.
3. Utilizing Third-Party Software and Plugins
While not as common, some third-party software and slicer plugins offer advanced bed leveling capabilities or integration with sensors beyond the standard BLTouch or CR Touch.
Troubleshooting Common Issues
Even with software solutions, occasional problems can arise. Here are a few common issues and potential solutions:
My Prints Still Warp Despite Using Software Solutions
Warping can occur due to several factors besides bed leveling:
- Incorrect Filament Temperature: Ensure you're using the correct temperature for your chosen filament.
- Poor Bed Adhesion: Try different bed adhesives or surface treatments.
- Insufficient Cooling: Ensure your printer has adequate cooling fans.
- Print Speed: Reduce the speed, especially for the initial layers.
My Z-Offset is Still Off After Calibration
If your Z-offset seems consistently incorrect, double-check the following:
- Sensor Calibration (if using ABL): Ensure your sensor is correctly calibrated.
- Firmware Version: Make sure you have the correct firmware for your hardware and software.
- Hardware Issues: Inspect for any mechanical issues that could affect the Z-axis movement.
Conclusion
Mastering software-based height solutions transforms your Ender 3 3D printing experience. By moving beyond simple manual bed leveling and exploring the capabilities of your slicer and firmware, you can dramatically improve print quality, consistency, and overall success rate. Investing time in understanding Z-offset and employing advanced features will elevate your 3D printing to a new level.

