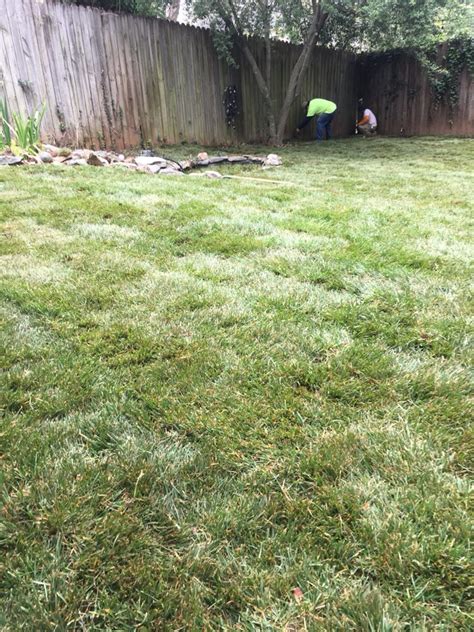
Achieve a Lush Lawn in No Time: Bermuda Sod Installation
Dreaming of a vibrant, green lawn that's the envy of the neighborhood? Forget the long wait and unpredictable results of seeding. Bermuda sod installation offers a fast track to a lush, healthy lawn, ready to enjoy in a matter of days. This comprehensive guide will walk you through the entire process, from planning and preparation to installation and ongoing care, ensuring your Bermuda sod thrives.
Why Choose Bermuda Sod?
Bermuda grass is a popular choice for lawns due to its many advantages:
- Fast Establishment: Unlike seeding, sod provides instant coverage, eliminating the weeks or months it takes for seed to germinate and fill in.
- Drought Tolerance: Once established, Bermuda grass is remarkably drought-tolerant, reducing your watering needs.
- Durability: It withstands heavy foot traffic and wear and tear better than many other grasses.
- Resilience: Bermuda grass is relatively pest and disease-resistant.
- Beautiful Appearance: Its dense, vibrant green color creates a stunning landscape feature.
Planning Your Bermuda Sod Installation
Before you begin, careful planning is crucial for a successful installation:
1. Assessing Your Site: Soil Conditions and Sunlight
Examine your soil. Is it compacted? Does it drain well? Amend heavy clay soils with organic matter like compost to improve drainage and aeration. Bermuda grass thrives in full sun (at least 6 hours per day). Shaded areas may struggle.
2. Measuring Your Lawn Area: Calculating Sod Requirements
Accurately measure the area you'll be sodding. Most sod farms sell sod in pallets containing a specific square footage. Add extra to account for waste and uneven areas. It's better to have slightly more than you need.
3. Choosing Your Sod Supplier: Quality Matters
Select a reputable sod farm known for providing high-quality, healthy sod. Ask about their growing practices and ensure the sod is free of weeds and disease. Check reviews and compare prices before making a purchase.
Preparing the Soil for Bermuda Sod Installation
Proper soil preparation is critical for the long-term success of your lawn.
1. Clearing the Area: Removing Existing Vegetation
Remove any existing grass, weeds, rocks, and debris. A thorough clearing ensures proper contact between the sod and the soil. Consider using a sod cutter for a clean and efficient removal of existing turf.
2. Leveling the Ground: Achieving a Smooth Surface
Level the soil to create a smooth, even surface. Fill in low spots and remove high points. A level lawn is essential for consistent sod placement and a uniform appearance.
3. Soil Testing and Amendment: Optimizing Soil Conditions
Conduct a soil test to determine its pH and nutrient levels. Amend the soil based on the test results. Adjusting the pH and adding necessary nutrients will promote healthy root development.
Bermuda Sod Installation: A Step-by-Step Guide
1. Laying the Sod: Starting in a Straight Line
Begin laying the sod in a straight line, typically along the edge of your property. Stagger the sod pieces like bricks, ensuring there are no gaps. Overlapping the edges slightly is acceptable.
2. Firmly Pressing the Sod: Ensuring Soil Contact
Firmly press down on each piece of sod to ensure complete soil contact. This promotes root growth and prevents air pockets. You can use a roller to achieve a more uniform compaction.
3. Watering the Newly Laid Sod: Deep and Thorough Watering
Water the newly laid sod deeply and thoroughly immediately after installation. This helps the sod settle and promotes root establishment. Continue watering regularly to keep the soil consistently moist.
Post-Installation Care for a Thriving Bermuda Lawn
1. Watering Schedule: Maintaining Consistent Moisture
Water deeply and less frequently rather than shallowly and often. The goal is to encourage deep root growth. Adjust your watering schedule based on weather conditions and soil moisture.
2. Fertilizing Your Bermuda Lawn: Providing Essential Nutrients
Fertilize your Bermuda lawn according to the soil test results and package instructions. Regular fertilization provides essential nutrients for healthy growth.
3. Mowing Your Bermuda Lawn: Maintaining the Desired Height
Once your Bermuda sod is established, mow regularly at the recommended height, usually between 1 and 2 inches. Sharp mower blades are crucial for a clean cut and prevent damage.
4. Weed Control: Preventing Weed Infestations
Address weeds promptly to prevent them from competing with your Bermuda grass for resources. Use pre-emergent herbicides to prevent weed growth.
5. Pest and Disease Management: Protecting Your Lawn
Regularly inspect your lawn for pests and diseases. Address any issues promptly using appropriate methods. Proper watering and fertilization help build a strong lawn more resistant to problems.
Frequently Asked Questions (FAQs)
How long does it take for Bermuda sod to establish?
Bermuda sod typically takes 4-6 weeks to fully establish. During this time, consistent watering and minimal foot traffic are crucial.
What is the best time of year to install Bermuda sod?
The best time to install Bermuda sod is during the growing season, when temperatures are warm and soil is moist. This allows for faster establishment.
How much does Bermuda sod installation cost?
The cost of Bermuda sod installation varies depending on factors such as the size of your lawn, soil preparation needs, and the cost of sod.
Can I install Bermuda sod myself?
Yes, with proper planning and preparation, you can successfully install Bermuda sod yourself. However, if you are uncomfortable with any aspect of the process, consider hiring a professional landscaper.
By following these guidelines, you can transform your yard from drab to fab in a remarkably short amount of time. Enjoy your beautiful, lush Bermuda lawn!

